Devices Menu🔗
The Devices menu centralizes configurations, operations and settings for hardware devices for use with your VST Live Project.
Audio Setup🔗
The configuration of your active audio interface(s) is performed here.
Audio Output🔗
The audio device/driver you use for sound output from VST Live.
Audio Input🔗
The audio device/driver you use for sound input to VST Live.
Sample Rate🔗
The active sample rate for your audio devices and (by extension) processing within your VST Live Project.
Buffer Size🔗
The size of the buffer that digital audio data is copied to (for input) and from (for output). Larger buffers provide more time for its audio to be processed, but this delay manifests itself as latency.
Connections🔗
VST Live provides extensive capabilities to support, connect and control hardware devices. In Connections, you configure these devices to be used with VST Live.
Organization🔗
Connections provide comprehensive organization capabilities.
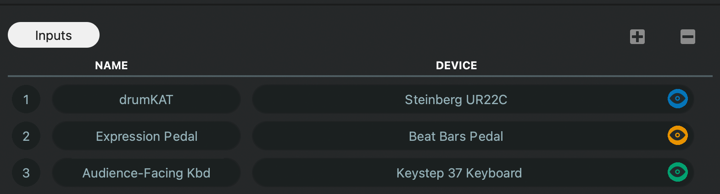
Visual Naming
For each device, you can create a name that reflects how you use a device instead of its literal name. This is an essential feature as you incorporate more sophisticated hardware into your performance.
Usage
In each Connection window, the real name of the hardware device is in the right column. In the left column, you can provide a visual name for the device.
- To create a name, click in the respective black oval in the left column, type the name, and press Return.
Device Coloring
When configuring a device, you can specify a color to associate with it within VST Live’s user interface.
- To specify a custom color, click the Eye icon in the far-right column, and select your desired hue.
Device Types🔗
Four device types are supported in Connections:
- MIDI
- Audio
- Video
- DMX
Actions & Shortcuts🔗
You can assign controllers for nearly every function in VST Live. The mechanisms can be keyboard shortcuts and MIDI messages.
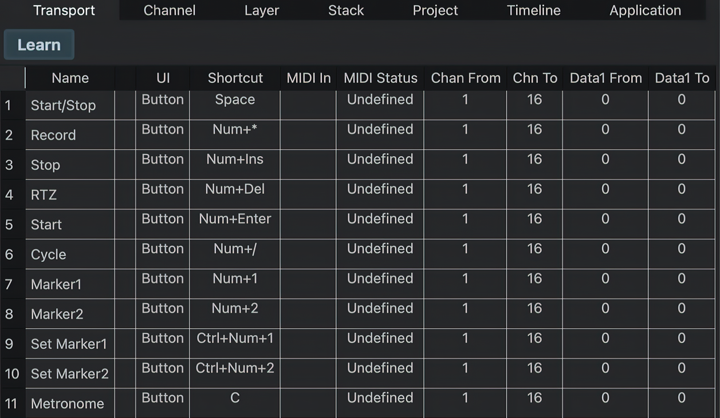
VST Live has a plethora of commands; they are organized in their associated tab by category:
- Transport
- Channel
- Layer
- Stack
- Project
- Timeline
- Application
Selecting a Command to Control🔗
To assign a controller to a command, select the command by clicking on its row in the table.
Choosing the Control Mechanism🔗
There are two types of control mechanisms: keyboard shortcut and MIDI message. You can either or both. The first step for either is to select the command in the table.
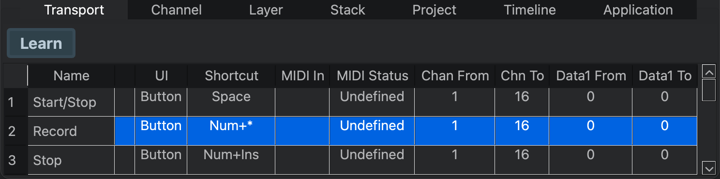
Assigning a Keyboard Shortcut🔗
- Click the table cell under the “Shortcut” heading.
- You will be prompted to press the key combination to assign. Do so.
- The cell will now display the keyboard shortcut.
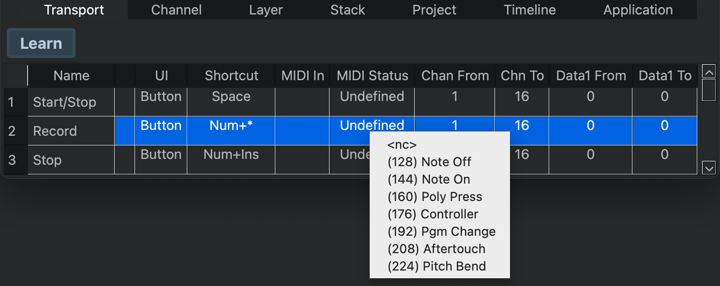
Assigning a MIDI Message🔗
MIDI can be assigned manually or automatically.
Manually
Click the MIDI In cell to choose the MIDI input source.
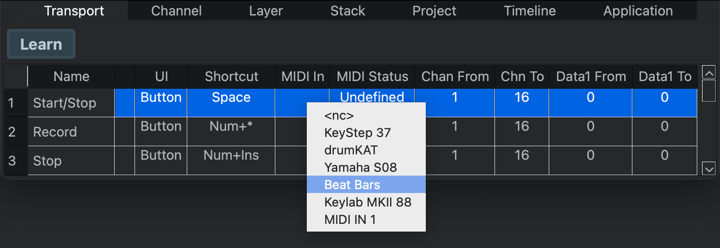
Click the MIDI message you wish to associate with the command.
Automatically
With the row is selected for the desired command:
- Click the learn button in the upper-left corner of the window.
- Send the MIDI command you wish of the learn buttons. For example, if you wish to use the modulation wheel for the command, move the modulation wheel in the range you intend to use it.
Once a MIDI command has been received, the Learn function will deactivate.
There is a second learn button on the main window, in the lower-left corner.
Filtering the Control Message🔗
To filter by MIDI channel range:
- Click in the “Chan From” cell and/or the “Chan To” cell. Messages arriving on channels between these two values will control the command.
- A menu will appear from which you can choose a MIDI channel. Make your selection.
To filter by MIDI data range (e.g. velocity):
- Click in the “Data From” cell and/or the “Data To Cell”. Messages arriving with data (e.g. velocity) between these two values will control the command.
- A menu will appear from which you can choose a value. Do so.
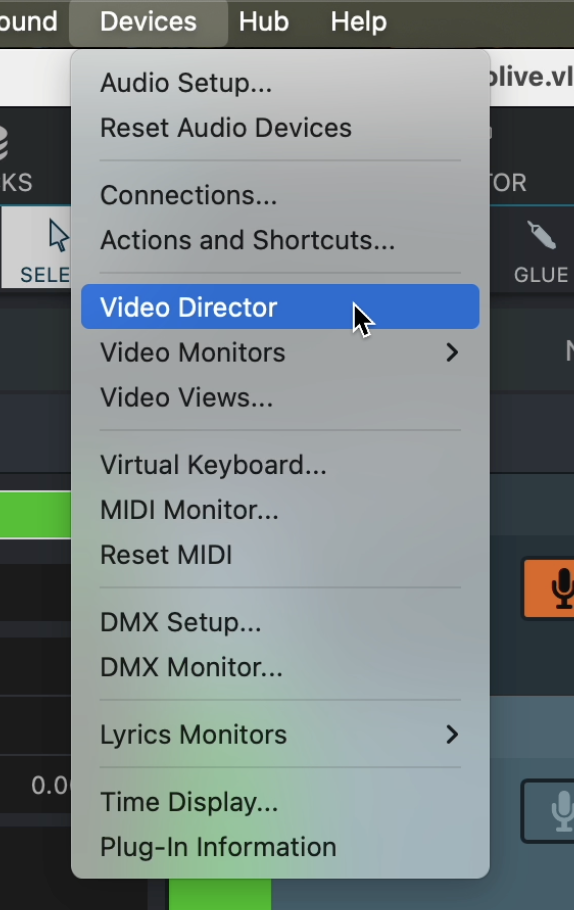
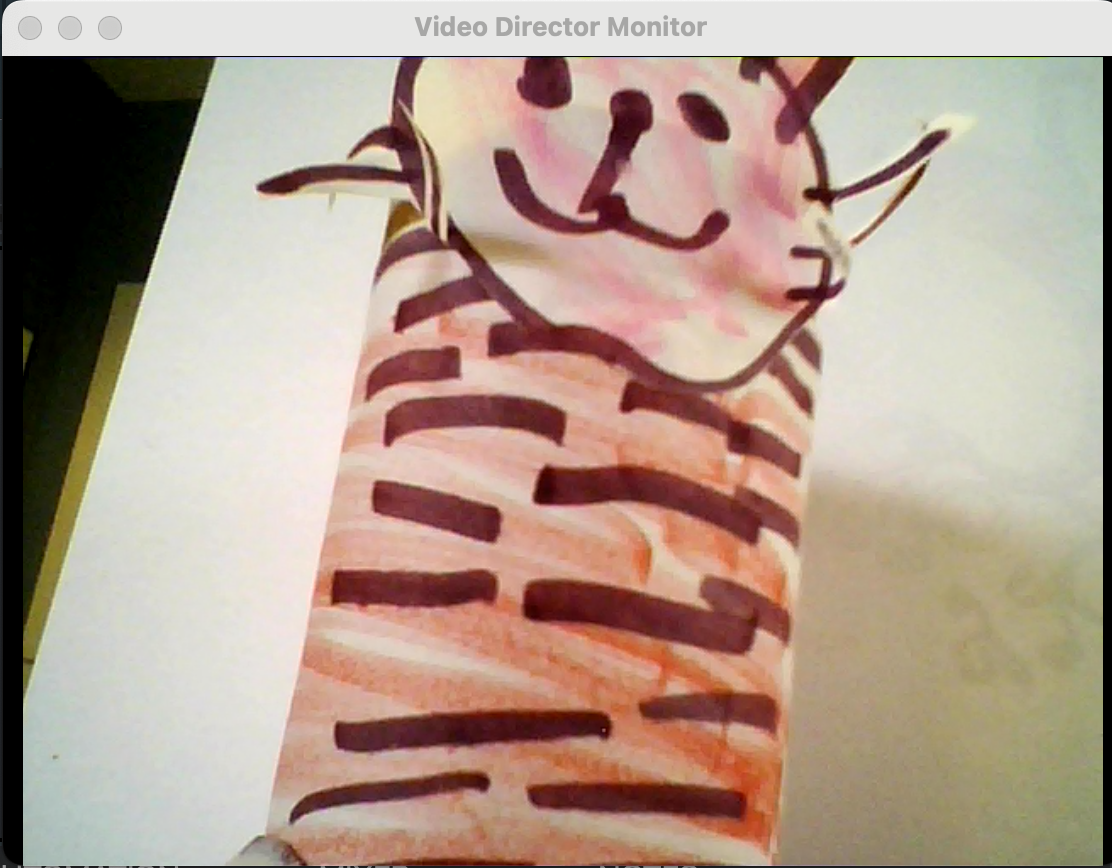
Video Director🔗
The Video Director acts as a central control room for all video output in VST Live. It collects all available video sources and determines which one is shown on the Monitor output.
Exactly one source is always active, and this source becomes visible on the Monitor. Changing the active source in the Director updates the Monitor output immediately.
The Video Director Monitor Window can be placed on an external screen to act as a dedicated operator view.
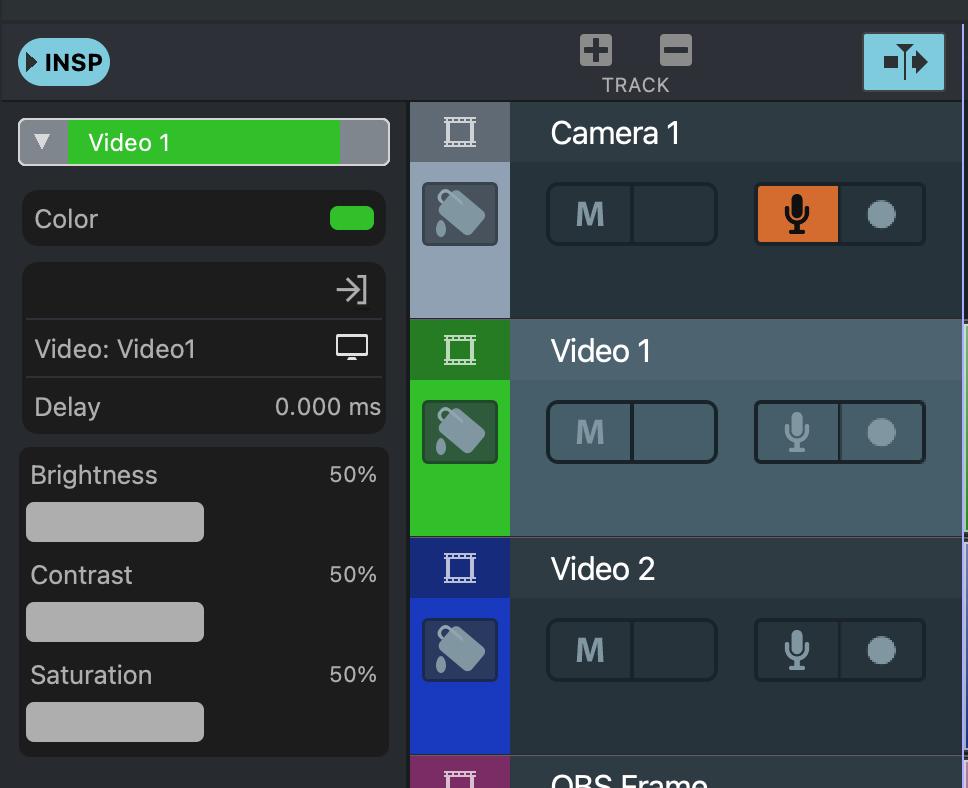
Tracks Setup🔗
- Select the TRACKS TAB.
-
Add a Video Track and import a video file using the Import control in the toolbar.

-
Open the Inspector and select an output monitor (for example, Video 1)
-
Add a second Video Track and select an input source such as a webcam.

- Open the Inspector and assign a different output monitor (for example, Video 2)
The Video Director lists all output monitor destinations currently used in the project.
Window🔗
The Video Director window can be opened from the Devices menu.
All output monitors are automatically arranged in the window using the optimal size.
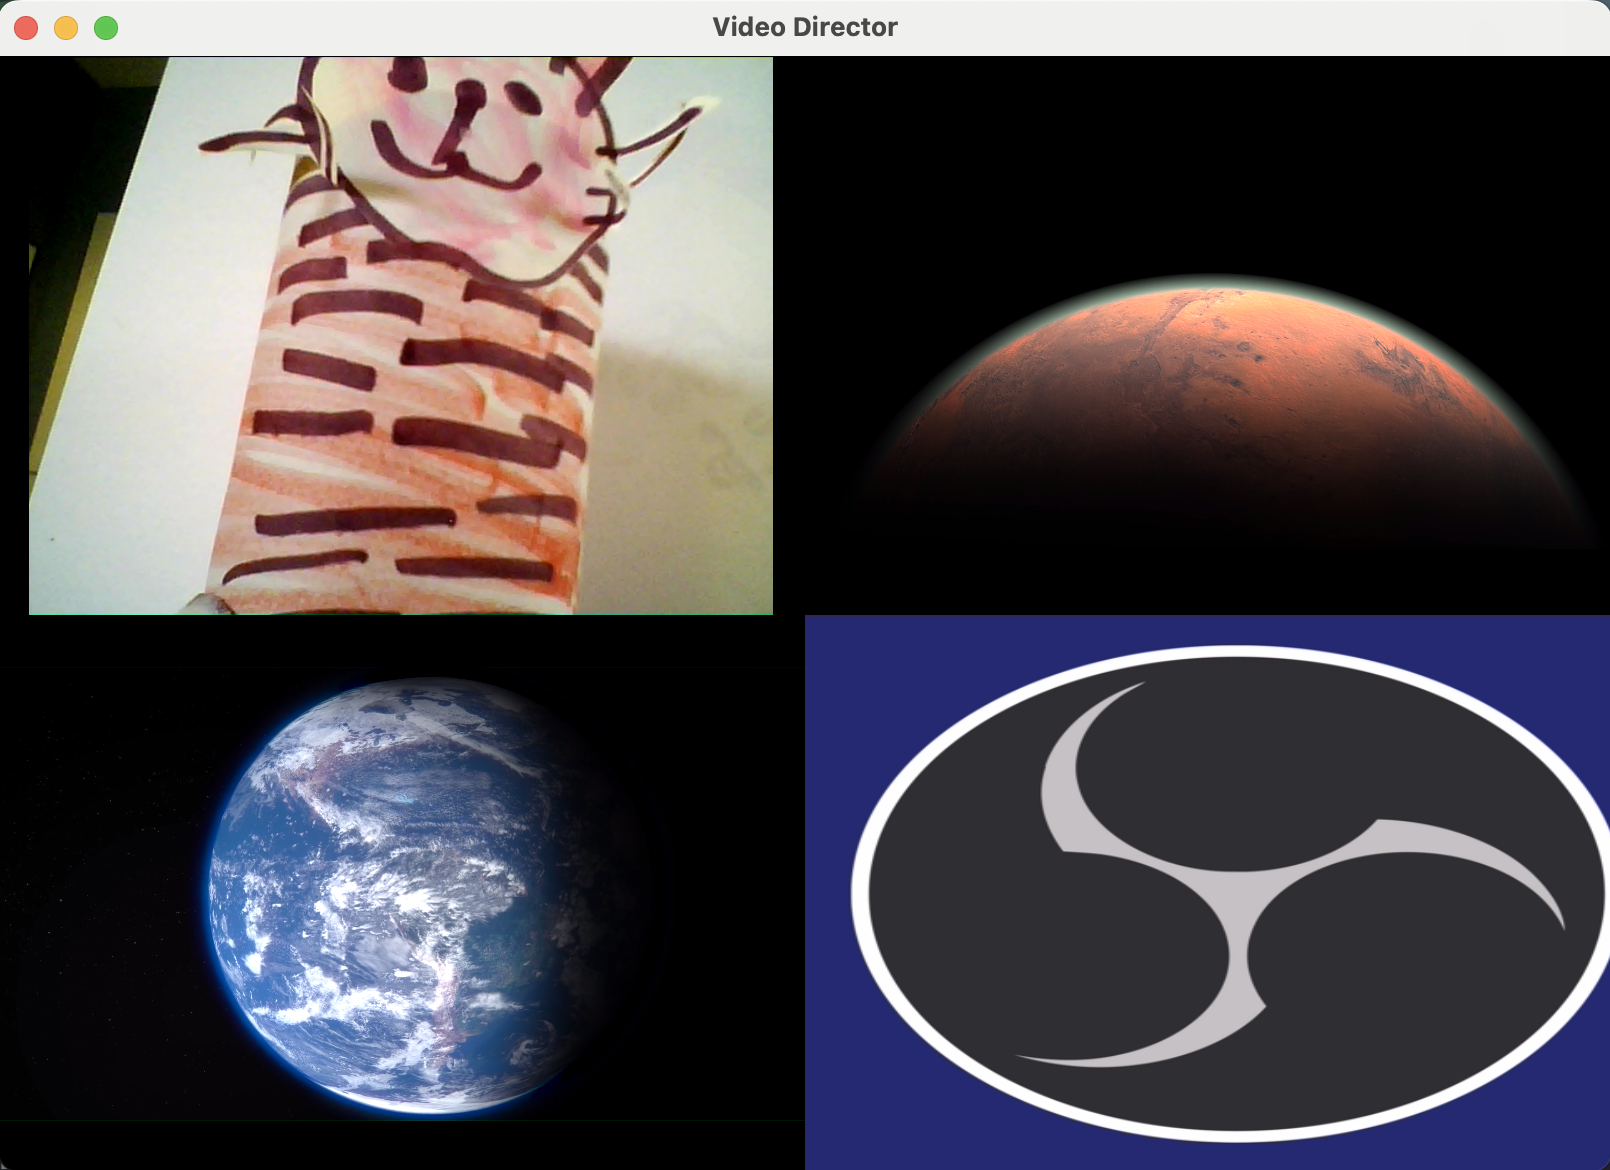
An output monitor can be selected and displayed in the Video Director Monitor Window.
The Video Director Monitor Window can be streamed to OBS.
Video Monitors🔗
Video Monitors provides video independent monitoring for the video outputs you have configured (in Connections) to use with VST Live.
- To monitor a specific video source, select its name from the sub-menu.
Video Views🔗
The Video Views window provides real-time video switching capabilities.

The Connections window creates an abstraction layer so video devices (such as data projectors) can be separated from how they’re referenced in VST Live. Video Views carries this a step further by enabling specific routings of video to also be named and abstracted.
Actions🔗
Actions are a flexible tool for creating virtual performance actions. Each Action is a mapping you create from a MIDI command to perform an operation in VST Live.
Interface🔗
The Actions Window is composed of a Toolbar for commands, and a table to specify the parameters of each Action.

Toolbar
The buttons on the Toolbar have the following functions:
- Plus Icon
Create a new Action.
- Minus Icon
Delete the selected Action.
- Learn
For MIDI input parameters, instead of explicitly choosing the input parameter and value in the Action menu, simply perform the action on your MIDI device that you wish to trigger the Action.
To use the Learn function:
- Select the Action number you want to generate the input function for. (Or, create a new action.)
- Select the Action to be performed (under the “Action” column).
- Press the Learn button.
- Perform the desired action on your MIDI device (e.g., move the modulation wheel).
- Look at the trigger data that VST Live recorded. If it is correct, Click Learn again to deactivate it. (If incorrect, perform the desired action again.)
- Save
Saves the entire Action table.
- Load
Load an Action table from local storage.
Loading an Action table will overwrite the current table.
Action Table Parameters🔗
The following are the parameters for each Action:
Action
The operation that will occur in VST Live if the Action is triggered.

Choose the operation you wish by clicking in the Action table cell, and making your selection from the pop-up menu.
MIDI Input
The MIDI input source (i.e., device or interface).
Layer
The name of the Layer affected. (Ignore if not relevant to the Action.)
Status
The MIDI input parameter that triggers the Action.
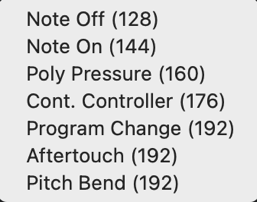
Choose the parameter you want by clicking in Status cell for the Action you are editing, and select your desired parameter from the pop-up menu.
MIDI Channel Lower Bound
The lowest MIDI channel number that triggers the Action.
MIDI Channel Upper Bound
The highest MIDI channel number that triggers the Action.
Data Field #1 Lower Bound
The lowest allowed value for Data Field #1. (Ignore if not relevant to the Action.)
Data Field #1 Upper Bound
The highest allowed value for Data Field #1. (Ignore if not relevant to the Action.)
Data Field #2 Lower Bound
The lowest allowed value for Data Field #2. (Ignore if not relevant to the Action.)
Data Field #2 Upper Bound
The highest allowed value for Data Field #2. (Ignore if not relevant to the Action.)
Virtual Keyboard🔗
The Virtual Keyboard can be used to audition sounds, trigger Events, record sequences and set MIDI learning parameters.
Options🔗
Three options are available for automatically triggering the keyboard:
- Sequence
- Chords
- Pedal
MIDI Monitor🔗
Use the MIDI Monitor as a diagnostic tool to view incoming and outgoing MIDI traffic.
- To choose the device or interface to monitor, click the Device button.
Lyrics Monitors🔗
VST Live provides up to six Lyrics Monitors — one main Lyrics Monitor and five additional Lyrics Monitors. Each monitor opens as a separate window and can display the content of a Lyrics Track along with its lyric events. You can edit the lyrics directly inside the monitor — add, remove, or move events as needed. As an optional feature, a Chord Track can also be shown, allowing you to display chord events together with the lyrics. All events are arranged along a vertical timeline for clear and intuitive navigation.
The Main Lyrics Monitor is part of VST Live’s Main Windows concept and is integrated into the primary workspace, but it can also be displayed as a break-out window.
You can activate a Lyrics Monitor from the Monitors submenu.
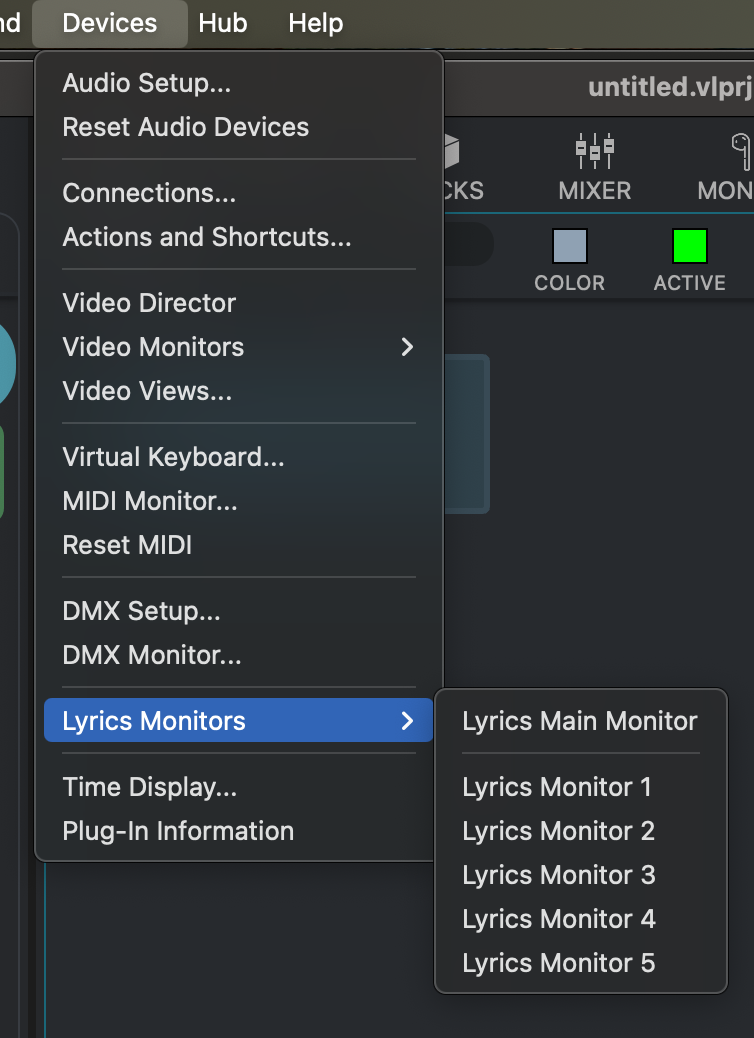
Each Lyrics Monitor can be placed on a different physical display, which is ideal for bands using individual lyric screens on stage.
Interface🔗
The controls on the Monitor Toolbar have the following functions:

LYRIC
Add or remove lyric events directly from the monitor - and so from the connected Track.
TRACK
Opens a menu to select which Lyrics Track should be displayed.
COLOR
Opens a color dialog to choose the display color for lyric events.
ACTIVE COLOR
Opens a color dialog to choose the color used for active lyric events.
A lyric event becomes active when the Time Playhead passes over it.
FONT SIZE
Opens a menu to set the font size for all displayed lyric events.
CURSOR
Opens a menu to define where the Time Playhead should stop and where the window scrolls.
The default value is 1/3.
CHORD
Toggles the display of a Chord Track. When enabled, the track’s chords are shown on the left side of the monitor.
Chords follow the same vertical timeline as the lyrics.
FONT SIZE
Opens a menu to select the font size for all displayed chord events.
ZOOM
A slider that adjusts the zoom level of the vertical timeline.
PROGRESS
Toggles a progress display for the current song at the bottom of the monitor.
Time Display🔗
The Time Display is a resizable tool window that shows the current song position in various time domains.
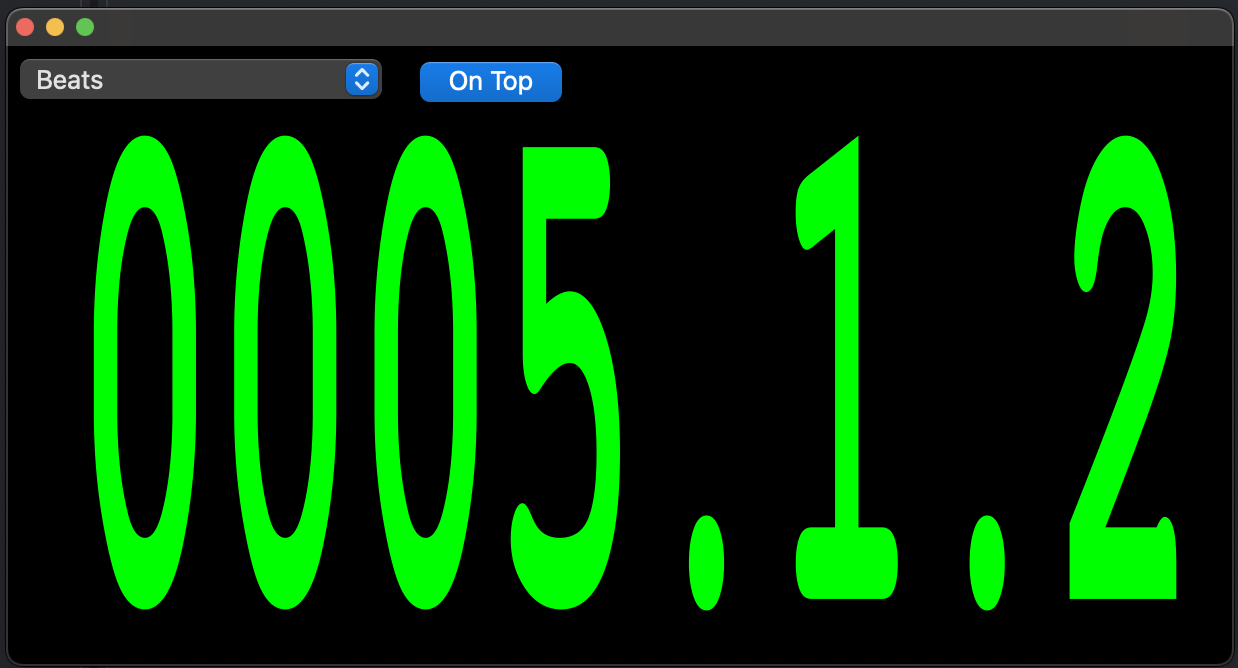
Many performers place the Time Display on a secondary screen for quick visual orientation during a show.
Interface🔗
The Time Display offers two controls:
Time Domain Menu
Select between different time domains:
- Beats: A musical representation of time.
- Seconds: Displays the current position in seconds.
- Clock: Shows the actual real-world time (hh:mm:ss).
- Project Remaining Time: Shows how much time is left in the project (hh:mm:ss).
- Song Remaining Time: Shows how much time is left in the current song (hh:mm:ss).
On Top
A toggle that keeps the Time Display window always on top of other windows.
Plugin Information🔗
Comprehensive information on your available plugins is available in this window. Sandboxing isolates the memory space of a plugin to aid in trouble-shooting issues.