Modules 🔗
Modules allow you to add new features to Parts in VST Live. They function similarly to how audio plugins add new features to Channels in a DAW. VST Live includes several built-in Modules, and provides the capability for third-parties to supply them as well.
Usage🔗
There are three types of data that Modules can process:
- Audio
- MIDI
- DMX
Visibility🔗
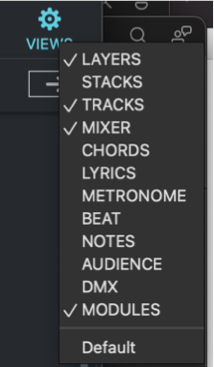
Modules belong to Parts. To view them, first ensure that Modules are selected for viewing.
- Click the Part that you wish to view the Modules for.
- Click the icon for the Module View above the Project Zone.
If the active Setlist has a Global Part, a Globals icon button will appear in the Main Panel’s toolbar. Click it to add view the Global Part’s Modules below the Song Part Modules. The Global Modules will be distinguished with a diagonal background pattern.
Minimizing 🔗
The default interface for Layers exposes their complete parameters.
Like Layers and Stacks, Modules can be minimized so only their most important information is visible.
- o toggle between minimizing and maximizing a Modules, click the disclosure triangle in the upper-right corner of the Module panel.

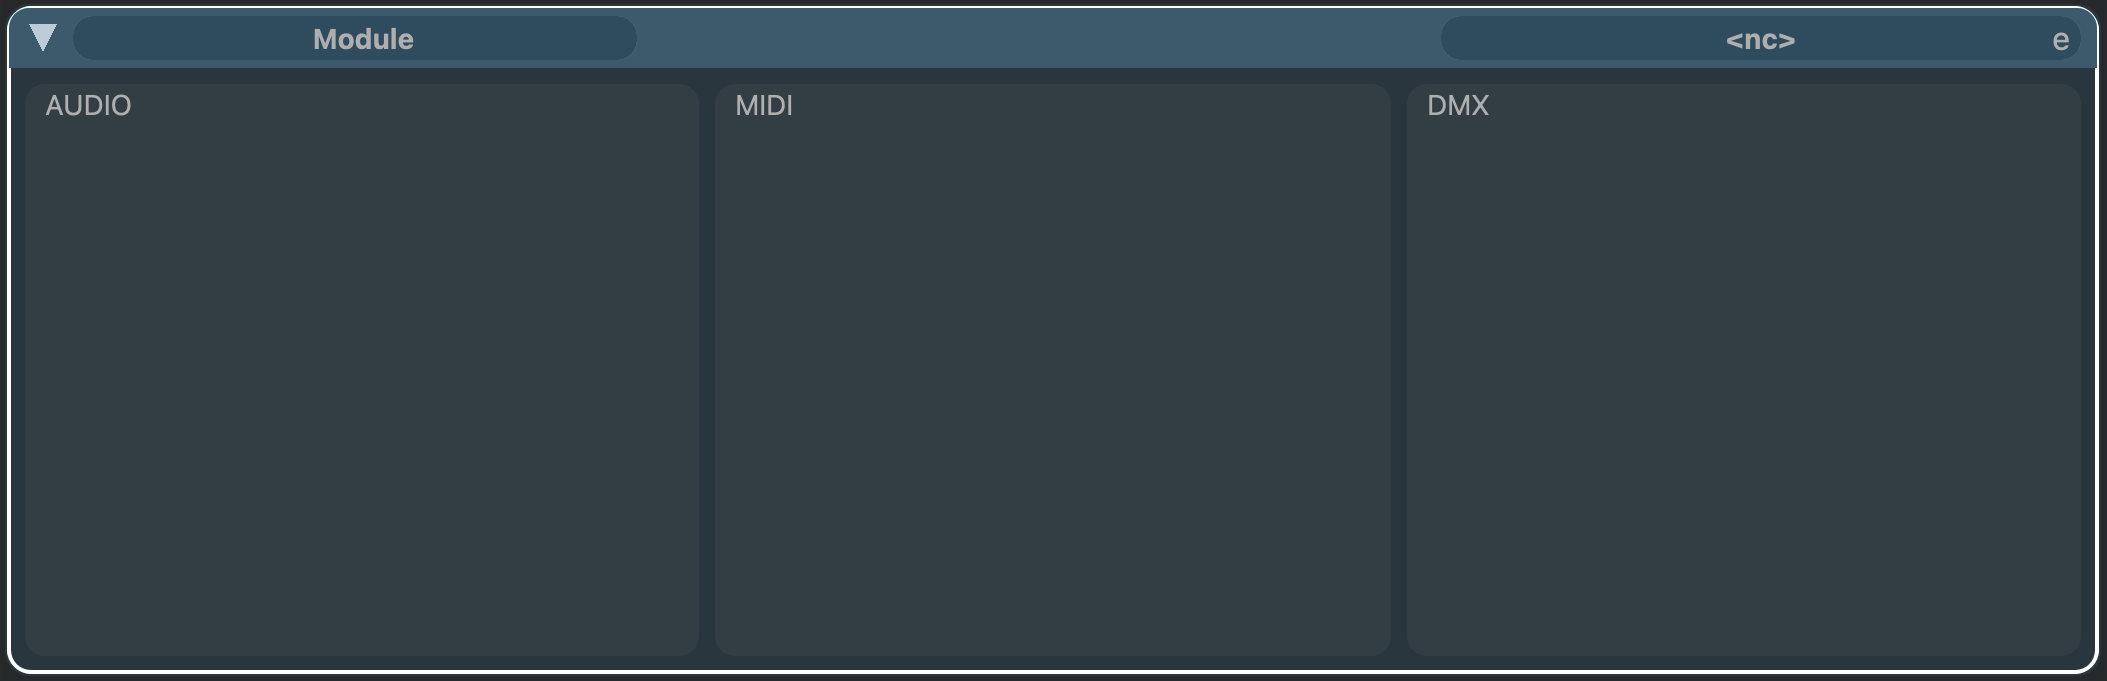
Interface🔗
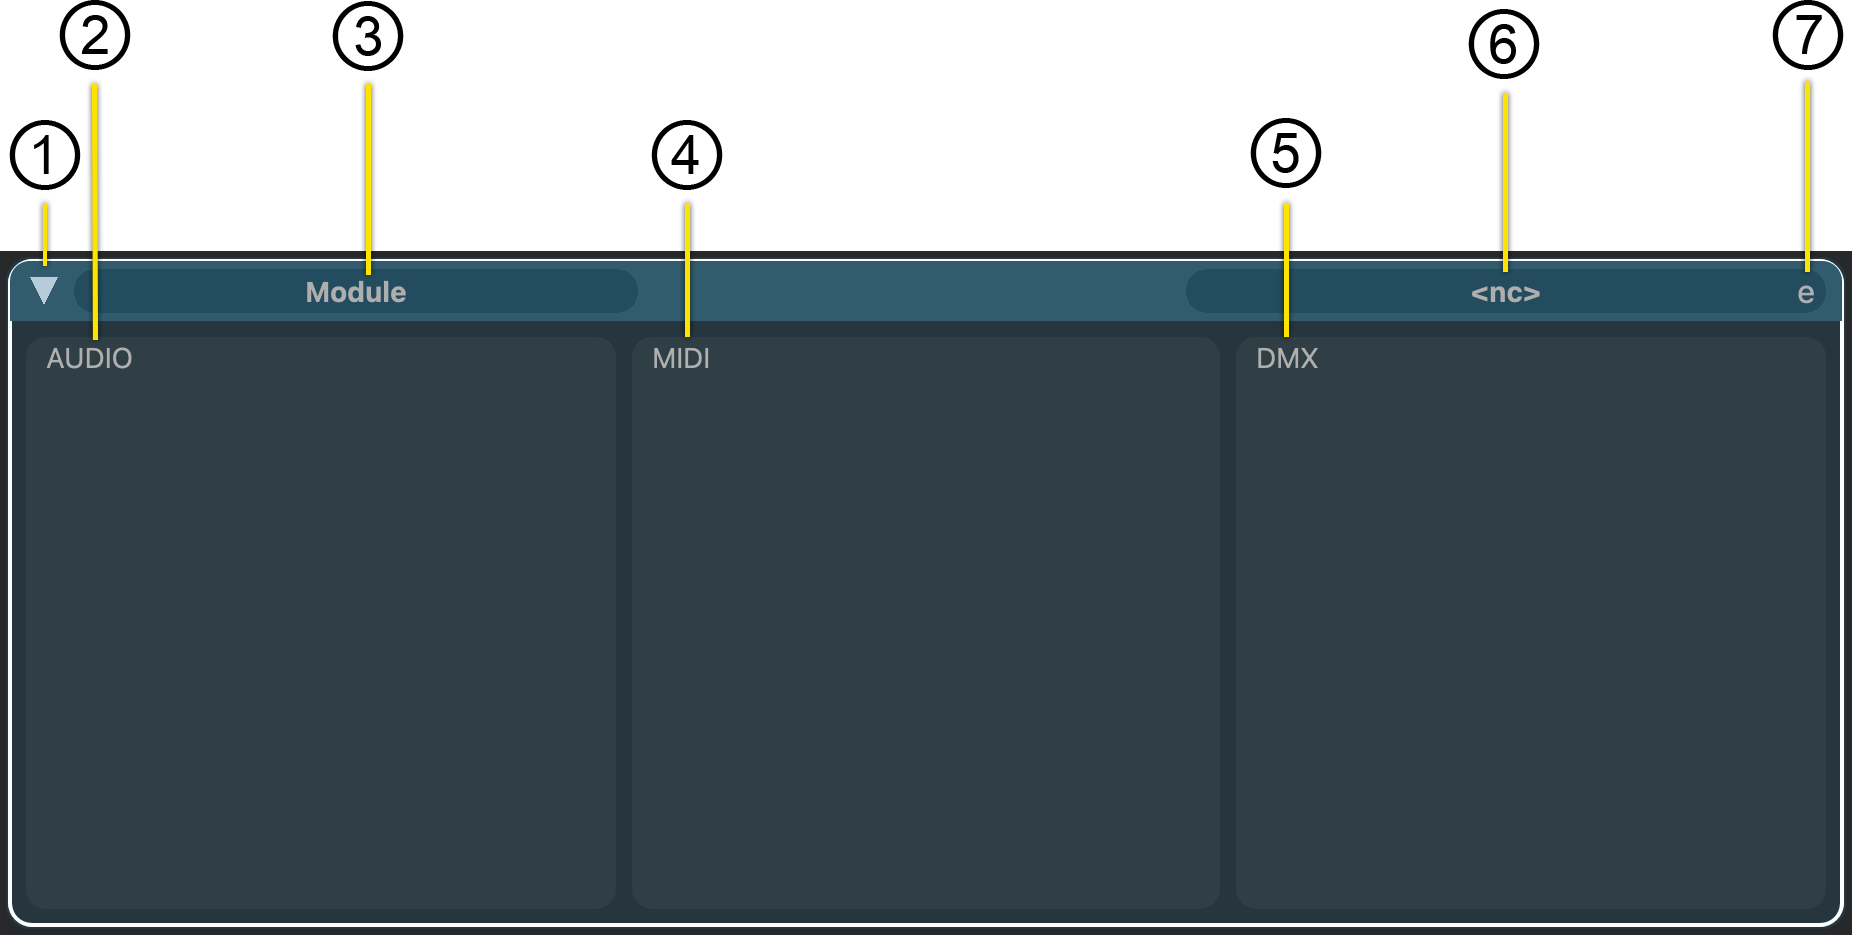
Modules have a flexible and visually interface for processing audio, MIDI and DMX.
- Disclosure Triangle
This control toggles between the minimal and full Module interfaces.
- Audio Container
If the Module processes audio, the interface and data for these features will be displayed in this container.
- Module Name
The name of the Module is displayed here.
- MIDI Container
If the Module processes MIDI data, the interface and data for these features will be displayed in this container.
- DMX Container
If the Module processes DMX data, the interface and data for these features will be displayed in this container.
- Module Selector
The name of the active Module (if any) is displayed here.
To load, change or unload a Module:
- Click in the Module Selector oval. This will display a menu of available Modules.
- Select the desired Module.
Note
When first created, outputs are set to “<nc>” meaning “no connection”, indicating that no Module is loaded.
- Interface Expansion
When available, clicking this button expands the interface of the current context to reveal additional data and parameters.
Module Operations🔗
The Module interface must be currently displayed on the screen
Add a Module to a Part🔗
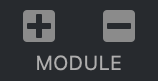
Click the Plus icon button to add a Module.
Remove a Module🔗
- Select the Module you wish to remove by clicking on it.
- Click the Minus icon button.
Rename a Module🔗
- Click in the dark oval in the upper-left corner of the Module where the current name is displayed.
- Type the new Module name
- Press return.
VST Viewer Module🔗
This VST Viewer module provides tools for viewing PDF files during a performance.
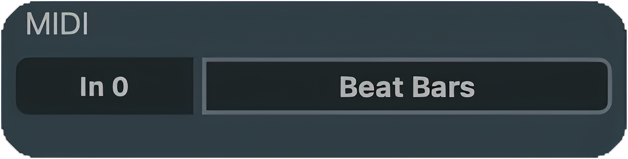
MIDI can be used to control the functions of the Viewer. In the central window, you can select the MIDI input and MIDI source.
Interface🔗
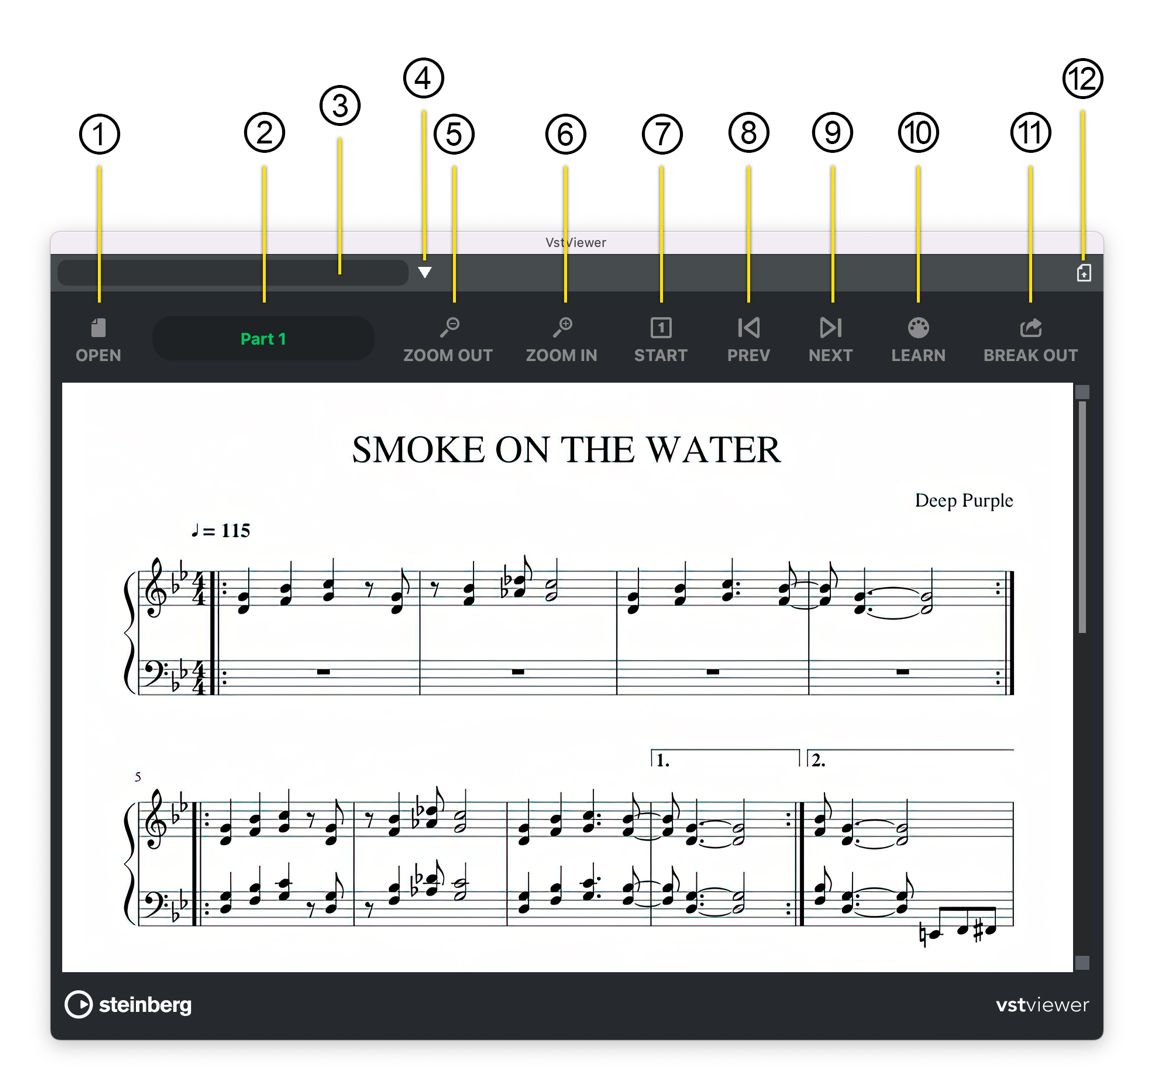
- Open Dialogue
Open a file dialogue box to load a PDF file.
- Part Name
Modules are attached to Parts; the name of the part that a Viewer belongs to is displayed here.
- Preset Name
If a preset is loaded, its name will be displayed here.
- Preset Access
Click this widget to load or save a preset.
- Zoom Out
Zoom out of the PDF.
- Zoom In
Zoom into the PDF.
- Start
Control the starting point.
- Previous Page
Go to the PDF’s previous page (if available).
- Next Page
If the PDF has additional pages, this will move the view to the next page.
- MIDI Learn Function
Assign MIDI commands to the functions of these controls by sending the MIDI command.
- Break Off Window
Break off the Viewer panel into a floating window.
- Store Viewer State with Part
You can store the viewer state with its associated part. When the Part becomes active, the state of the Viewer will be restored—including whether the viewer, itself, is open.
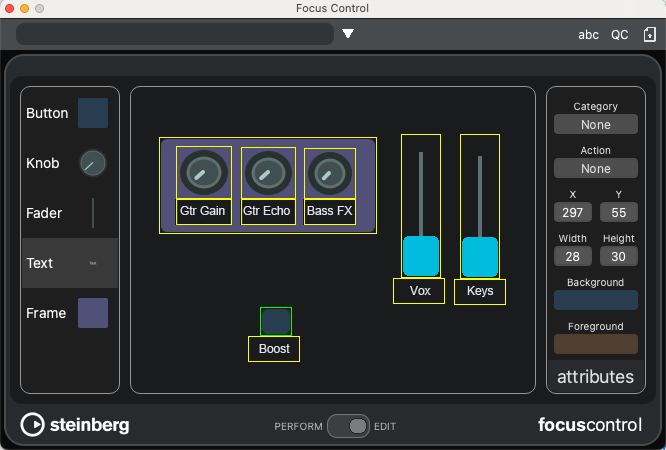
Focus Control Module🔗
Focus Control is a virtual sandbox for constructing your own performance Control Panel. Using familiar user interface tools, you can build personalised GUIs for your shows.
Scope🔗
Focus Control Panels are assigned to Parts. This allows you to have separate Panels not just for individual Songs, but for verses, choruses and more.
For a Global Focus Control Panel, assign one to a Global Part.
Perform & Edit Mode🔗
The Focus Control Panel has two modes: Perform and Edit.
In Perform Mode, you use your Panel.

In Perform Mode, you use your Panel.
Main Interface 🔗
- Preset Name
Displays the current Focus Control Panel.
- Load/Save Icon
Load and save Focus Control Panels.
- Keyboard Focus
When active, all keyboard events are sent to the control surface. This includes any hotkeys you have defined for the VST Live application.
- Toggle Quick Controls
Toggles the Quick Controls panel. This allows you to access Quick Controls from your Focus Control Panel.
- Toggle Edit Model on Activation
When selected, your Focus Control Panel will open in Edit mode (as opposed to Performance mode), when its assigned Part is activated.
- Perform/Edit Toggle
Toggles between Performance mode (for using panels while you perform) and Edit mode (for creating the Panels).
Resizing the Focus Control Window: Grab any of the four corners if the window to resize it.
Editing (and Creating) Panels🔗
Select the Edit position of the Perform/Edit button to begin. Columns will be added on either of the Panel, with three areas now visible: Toolbox, Canvas and Attributes.
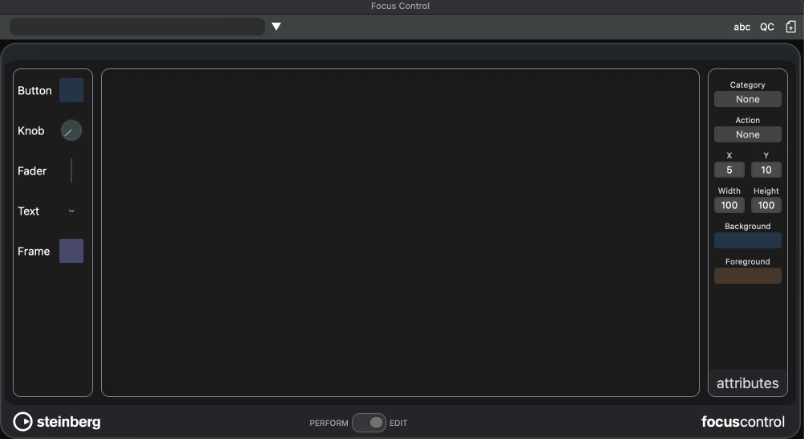
Widget Toolbox 🔗
There are (currently) five widgets in the Toolbox you may use to create your Focus Control Panel.
- Button: Buttons are for boolean (on/off) states.
- Knob: Knobs are a space-saving widget for linear values.
- Slider: Sliders are larger (and easier to adjust) widgets for linear values.
- Text: Use Text objects to label widgets and subpanels in your Panel.
- Frame: Frame objects can be used to group related widgets together into subpanels.
While in Edit mode, you cannot adjust a widget (with respect to an Action you assigned to it.)
Adding Widgets to Your Panel🔗
You can add a widget anywhere on the Canvas.
- Drag the widget from widget area onto the Panel Canvas.
The Canvas will turn red.
- Drop the widget where you want it on the Canvas.
The widget is now selected, indicated by a green outline. You may now assign an Action and other attributes.
Assigning an Action to a Widget🔗
You can assign a single Action to button, knob and fader widgets.
- Select a widget.
- Choose a category in the Attributes column.
- Select an Action.
Changing the result of the Action within the VST Live application will change what the widget assigned it will do.
Positioning a Widget Numerically on the Canvas🔗
You can precisely position a widget on the Canvas by modifying its Attributes: X, Y, Width and Height.
- Select a widget.
- The widget will have a green outline.
- Double click the mouse cursor (or using touch, if a touchscreen) in one of the four numerical positioning fields.
- Type in the new value.
- Press Return.
Changing the Appearance of a Widget🔗
You can customize the foreground and background color of any widget.
- Select a widget.
The widget will have a green outline.
- In the Attributes column, click the Background or Foreground indicator.
A floating color palette will appear.
- Choose your desired color. The Foreground colour is for a widget’s on-position; Background is for the off-position.
Click the OK button in the palette.